
DIY Composting
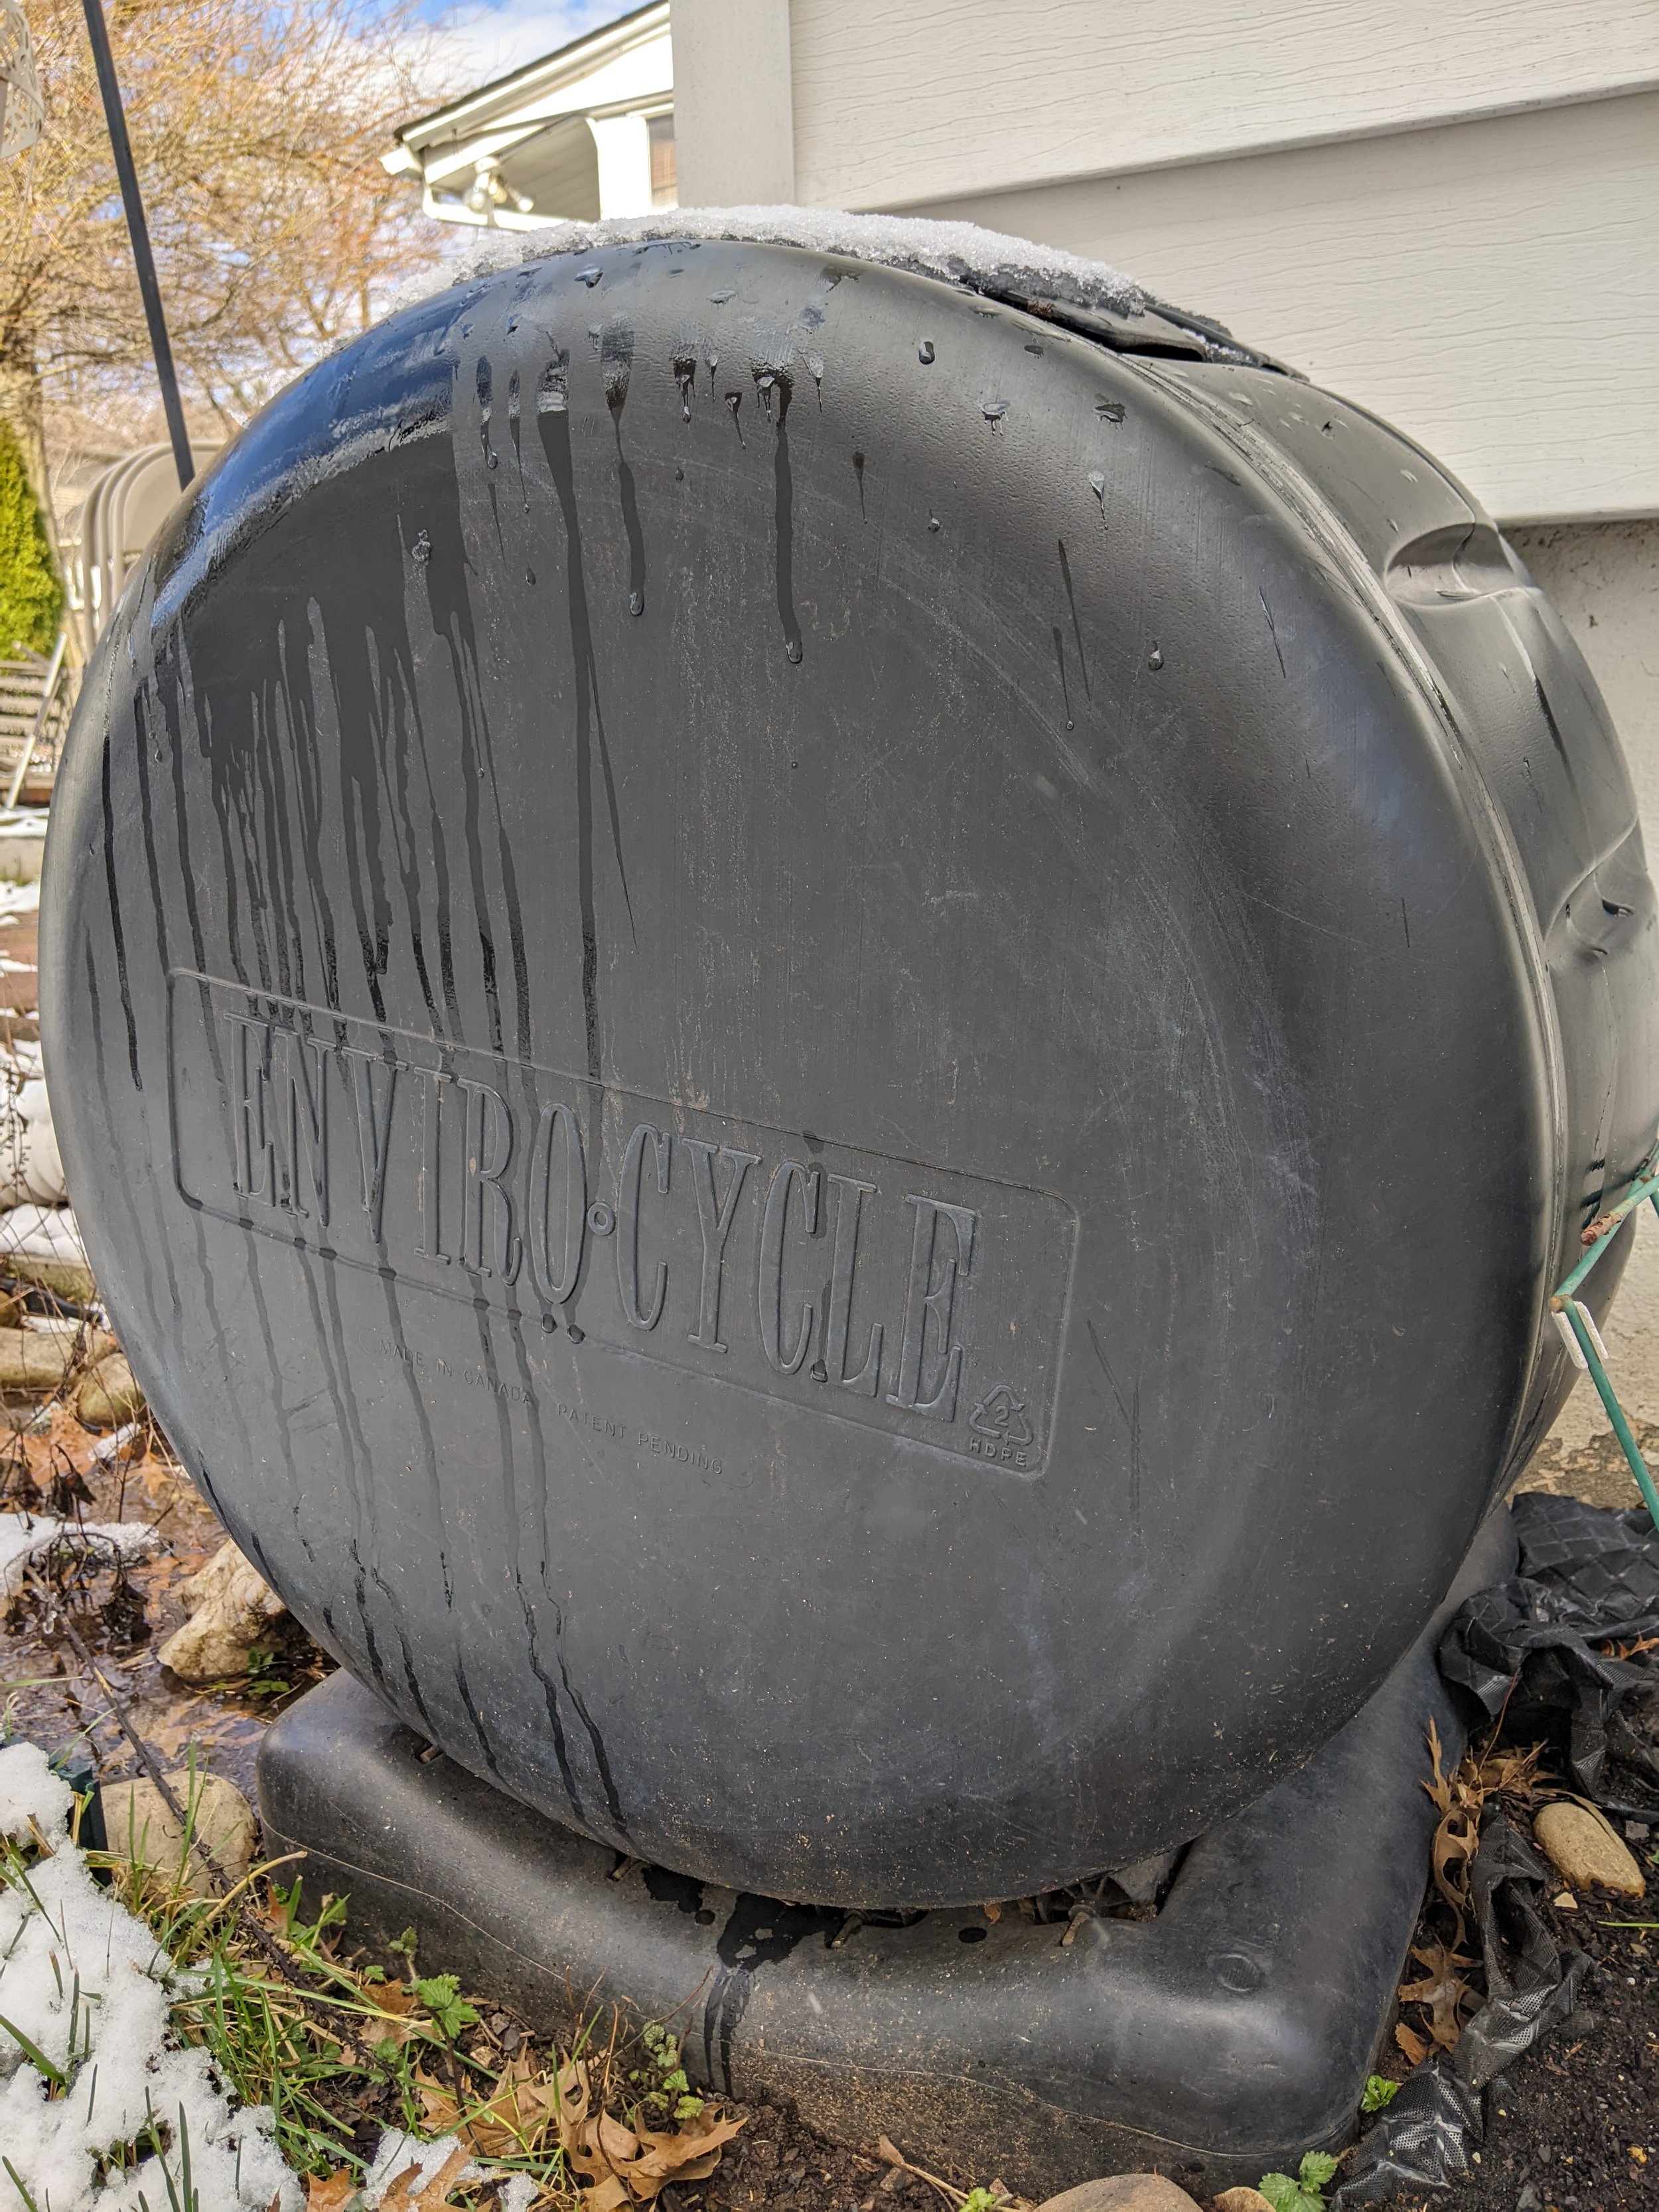
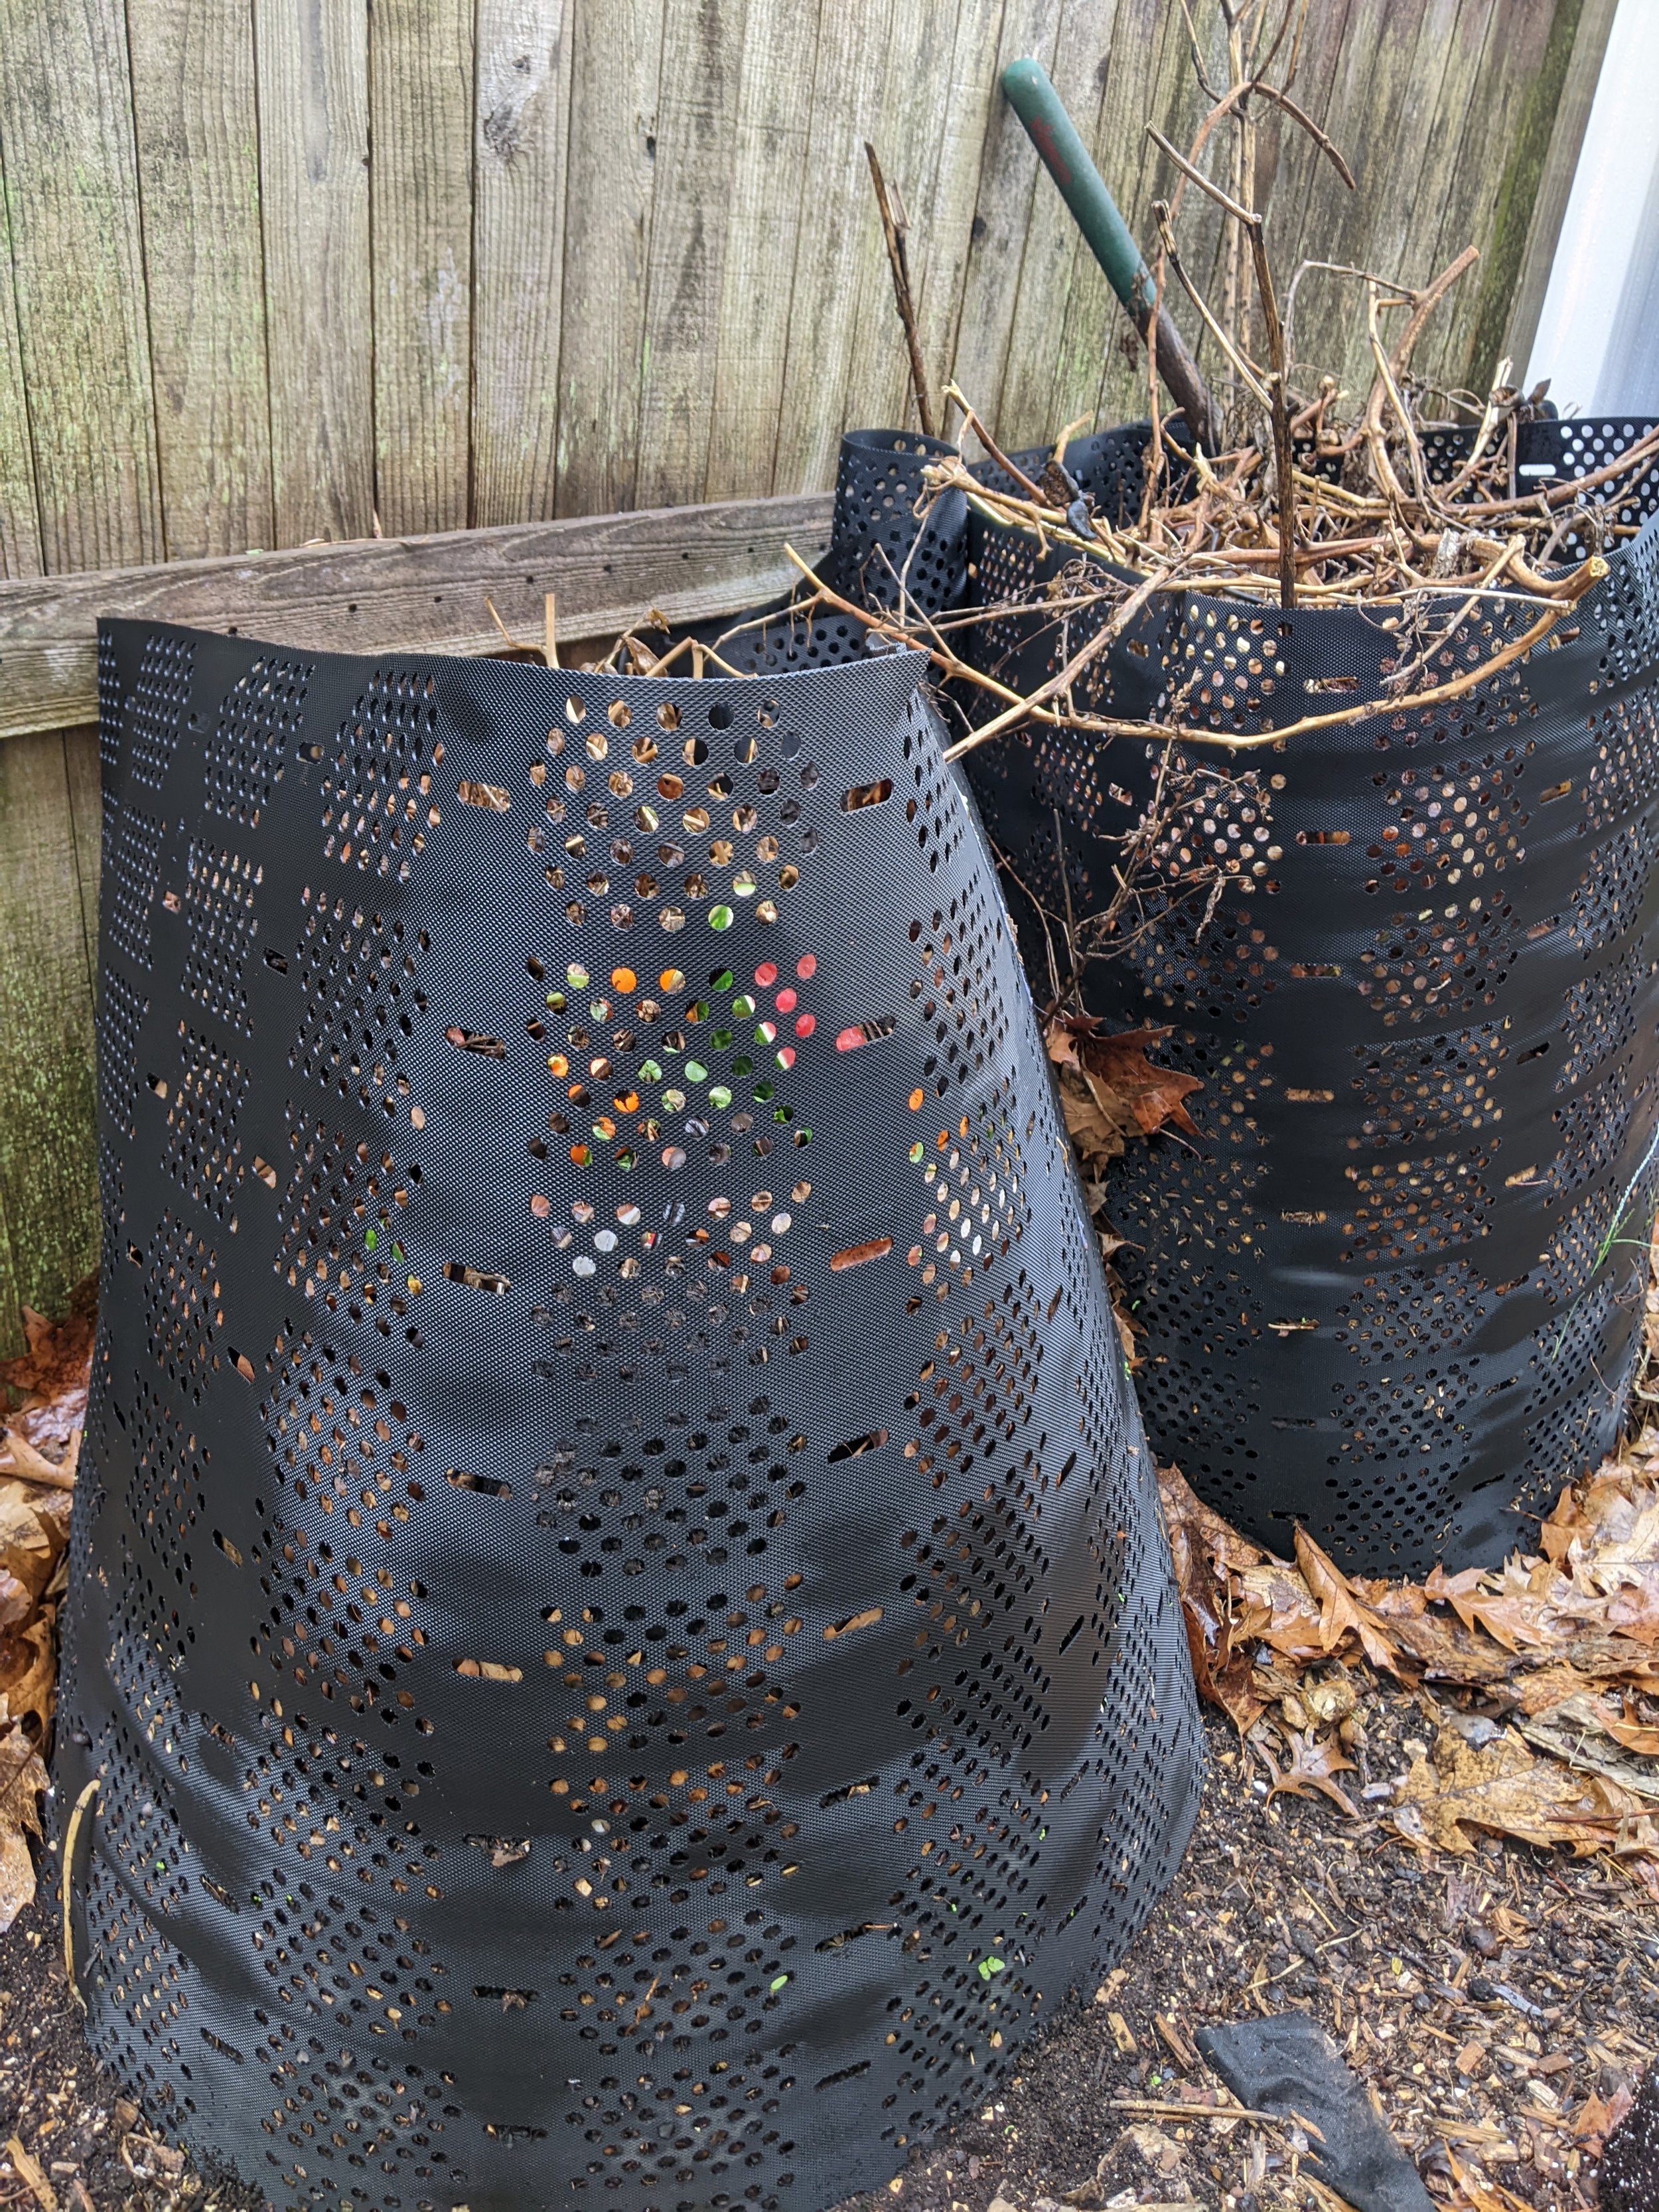
Above: Left, an enclosed compost bin. Right, the Geo Bin compost style. It is about 4 feet high and 3 feet in diameter. The holes on the side allow for better circulation and in turn faster break down of the compost.
Composting is a great way to reduce waste and create nutrient-rich soil for your garden. Starting and maintaining a home compost bin is easy and can be done with just a few simple steps. In this article, we will walk you through everything you need to know to start and maintain a home compost bin.
Step 1: Choose a Location
The first step to starting a home compost bin is to choose a location. Ideally, you want to choose a spot that is convenient and easily accessible. A shady spot is best because it will help regulate the temperature inside the bin. You also want to choose a spot that is well-drained, so the compost doesn't become waterlogged.
Step 2: Choose a Composting Bin
There are many different types of composting bins available, from simple DIY designs to more complex commercial models. Choose a bin that suits your needs and budget. A simple homemade bin made from a trash can with holes drilled in the sides can work just as well as a fancy commercial bin. At the Rows for the Hungry, we have so much compost material that we make a large pile and keep turning it with a pitchfork. Keep in mind the distance from your garden because you will have to transport the compost back to the garden in a wheelbarrow.
Step 3: Add Organic Material
The next step is to add organic material to the bin. This can include things like vegetable and fruit scraps, coffee grounds, eggshells, grass clippings, and leaves. Avoid adding meat, dairy, and oily food scraps, as they can attract pests and slow down the composting process. You can also add shredded paper or cardboard to the bin, but avoid adding glossy or colored paper. To keep the compost working efficiently, keep about a 1:1 ratio of “greens” (food scraps, grass) to “browns” (fall leaves, cardboard).
Step 4: Maintain Moisture
The compost needs to be kept moist but not waterlogged. If the compost becomes too dry, it will slow down the composting process. If it becomes too wet, it can become smelly and attract pests. To maintain moisture, add water to the compost bin as needed.
Step 5: Turn the Compost
To speed up the composting process, you should turn the compost regularly. This will help aerate the compost and distribute moisture and nutrients evenly. You can use a pitchfork or a compost turner to do this. Best practices is to turn the compost at least once a week.
Step 6: Wait
Composting takes time, and it can take several weeks or months for the compost to be ready. The exact time will depend on the materials you've added and the conditions inside the bin. When the compost is ready, it should be dark, crumbly, and smell earthy. To speed up the breakdown process, add composting worms. These are readily available online these days.
Step 7: Use the Compost
Once the compost is ready, it's time to use it in your garden. Compost is a great soil amendment that can help improve soil structure, retain moisture, and provide nutrients to plants. Spread the compost over your garden beds, mix it into the soil when planting, or use it as a top dressing around established plants.
Happy composting!